The Ultimate Guide to Pre-Delivery Inspections for Commercial Trucks, Trailers and Buses
| 1 | What is a PDI? Anyone buying a new vehicle may notice a “PDI” line item on their bill of sale. PDI stands for Pre-Delivery Inspection. It applies to new vehicles. The PDI represents the final inspection that a vehicle goes through before it is delivered to the end customer and registered to travel over the road. The truck, bus or trailer will be examined top to bottom including the paintwork, interior and engine to check for any defects which may have been missed during the manufacturing process. In short, the PDI process helps ensure that a new vehicle delivered to a customer doesn’t come back to the dealership with a problem soon after delivery. |
| 2 | Don’t new vehicles get inspected at the factory – why do they need to be inspected again at the dealership? Yes, Manufacturers have their own version of the PDI that they go through before releasing a vehicle from the factory. But the dealer PDI is the all-important final step in the process. No matter how good the manufacturer is, there are always issues that come up – it may be minor but it’s part of a thorough checklist. And in some cases, for newer models especially, there may be issues like air lines routed incorrectly causing wear or electrical harnesses that may be too close to the exhaust pipe. Those are things caught and rectified during a PDI. |
| 3 |
What happens during a PDI? Another very important part of a PDI is checking for damages that may have happened at the factory or while the vehicle was in transit to the dealership. When customers take possession of a new vehicle, there is zero tolerance for any imperfections or damages. The PDI is intended to catch and fix any damages before going to the customer. Lastly, a PDI can include installation of accessories. The sales rep works with the PDI Technicians to order any additional accessories or modifications that the customer has requested. This could include winter fronts or engine and bunk heaters on commercial trucks and tarps or tire swaps on commercial trailers for example. |
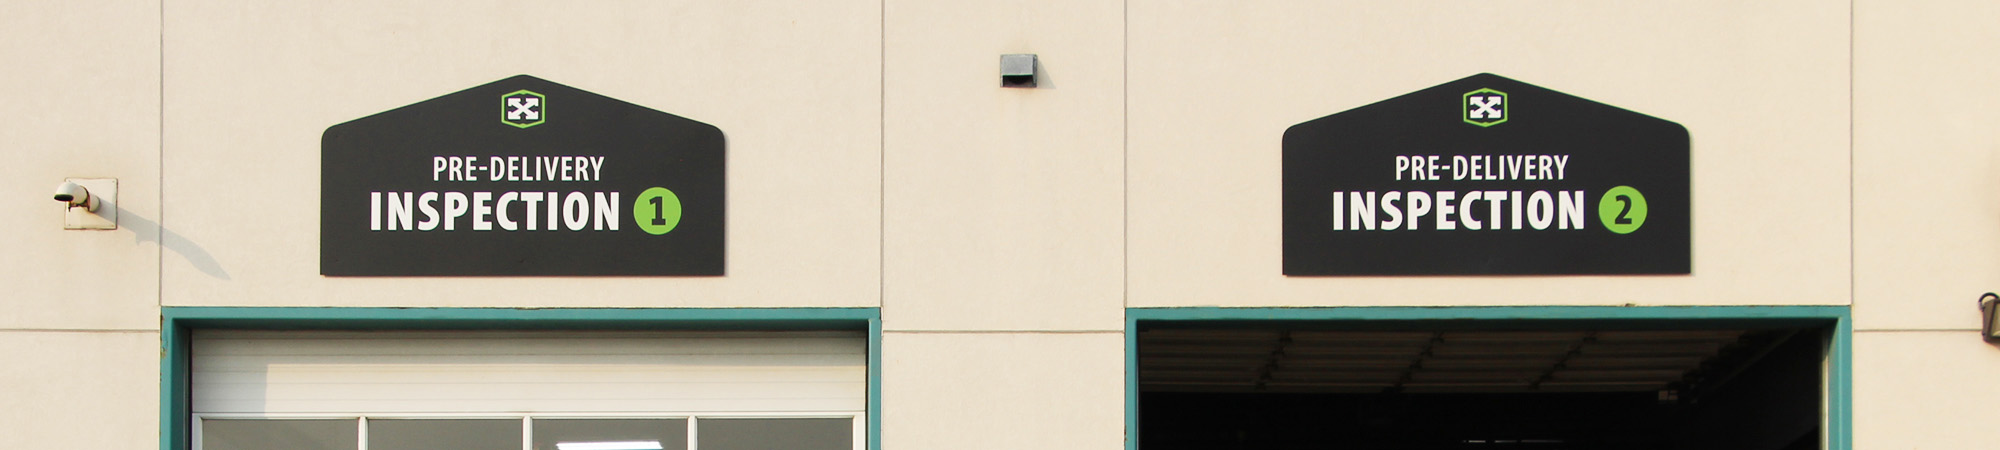
| 4 | How are new commercial vehicles delivered from the factory to dealerships While most passenger cars and pickup trucks are transported by rail and truck carrier, larger commercial vehicles are generally driven from the factory they were built at to the dealership where they are sold. Some trucks and even deck trailers can be stacked to allow for the transport of two or three units together. In the case of larger commercial vehicles manufactured in Mexico or the USA, these units are driven or towed to dealerships all over North America including Canada where Maxim Truck & Trailer is located. A commercial bus for example is not stacked or decked. Each bus is driven up to 1,000 miles from a factory in Oklahoma to our location in Central Canada. And new 53-foot semi-trailers get hauled over the road from the manufacturing plant in Indiana over 1,000 miles to our location in Central Canada. |
| 5 | Who performs the PDI at a Dealership? PDI’s at Maxim and most other dealerships are performed by mechanics. At Maxim, our commercial PDIs are performed by seasoned journeyman technicians. Further, at Maxim, our PDI Technicians are focused exclusively on performing PDIs, so they are proficient at this important step for new vehicles performing hundreds of PDIs each year. |
| 6 |
How much mechanic time is allotted for a PDI? |
| 7 | Can you opt-out of a PDI to save money? No. The PDI checklist is a requirement imposed on the Dealer by the Manufacturer. It is meant to ensure the vehicle is completely safe and in good working order prior to delivering it to the customer. Generally, the PDI is a requirement to validate the new vehicle warranty so without a PDI – the warranty may not be valid. And at Maxim, we won’t release a new vehicle to a customer without performing a PDI to ensure it’s completely safe and operational. Following are examples of three PDI Checklists for Commercial Trucks, Commercial Buses and Commercial Trailers. As you can see, the checklists are much more involved for Trucks and Buses than for Trailers which explains the significant difference in mechanic time allotted to each. These are just examples that will vary by Manufacturer and Dealer. |
Truck Pre-Delivery Inspection Checklist
- Position wheel chocks
- Charge battery - 55 or 70 amp Smart Charger - 1.0 hour minimum
- Perform MidTronics Battery Pack Test (Refer to WPL 14-004G for submission guidelines if applicable)
- Research VIN for Recalls/Updates
Walk Around Inspection
- Batteries, cables, cover - routing, tight, greased - Check
- Exterior components - damage, body/paint, exterior lamps, operative/frame paint coverage - Visual
- Wheel lug nut torque - Check
- Front wheel bearing lube level - Visual
- Tires - damage, foreign objects, inflation pressure, valve caps present/secure - Check
In-Cab Inspection
- Windshield Wiper/washer - functional - Check
- Signs of water/dust leakage - doors, cab roof, glass - Visual
- Restraints, seats, windows, mirrors - secure, functional - Check
- Instrument panel gauges - functional - Visual
- Interior components & floor mat - condition, secure - Check
- Sleeper and Accessories - clean, secure, fuctional - Check
- Clear inactive fault codes and if necessary, perform In Transit Speed Adjustment (refer to iKnow Document IK3100002)
- 2 keys, 2 fuel cap keys & keyless entry present/ functional (if equipped)
- Operator’s Manual, other documentation present – Visual
- Lights – interior & instrument panel – functional – Check
Under Vehicle Inspection
- Under vehicle routing/clipping - all components secure and meet specs - Visual
- Front and rear axle u-bolts - check torque, adjust to spec as necessary
- All underside components - inspect for damage and/or leakage, including:
- Steering gear/linkage
- Engine
- Transmission
- Propeller shafts/driveline hangers
- Drive axles
- Exhaust system
Underhood Inspection
- Air filter snorkel boot - properly secured - Visual
- Underhood routing/clipping - all components secure and meet specs - Visual
- Engine oil level - level between "Min" and "Max" - Check
- Coolant level - level between "Min" and "Max" - Visual
- Transmission fluid level - if no leakage evident, no action required - Visual
- Power steering reservoir - if no leakage evident, no action required - Visual
- Brake fluid level (if equipped) level between "Min" and "Max"– Visual
- Hydraulic clutch fluid (if equipped) level between "Min" and "Max" - Visual
- All fluid, exhaust, air systems leak-free - Visual
Inspection Completion & Closeout
- Remove & discard all protective coverings, tags, internal use labels, tape
- Write PDI location code & date on door jamb VIN label
- Place completed copy of PDI form in folder with all other vehicle documentation
- Provide completed copy of PDI form to Service Manager for storage
Trailer Pre-Delivery Inspection Checklist
- Inspect trailer interior and exterior for damages
- Ensure body and door hardware isn't missing (Holdbacks, reflective tape, hinge pins, etc.)
- Check lights. Repair as required
- Inspect sub frame, suspension/bushings, undercarriage, dust shields for tightness (if applicable)
- Chek and adjust wheel alignment as required, record measurements on attached sheet
- Torque quick align bolts to 500 ft/lbs
- Check wheel seals and top up hub oil levels if required
- Check wheel bearings adjustments and adjust if required
- Ensure ABS is operating correctly and lights go out
- Torque wheel nuts to spec.
- Check air system and brake components, set brake adjustments
- Check dolly leg operations
- Grease legs, brakes (Slacks, inner & outer cam bushings)
- Check and adjust tire pressure to 100 p.s.i.
- Ensure rear doors open/close and seal properly
- Install Manitoba Safety decal and paper
Bus Pre-Delivery Inspection Checklist
- Prepare Vehicle for PDI Inspection - Wheel Chocks
- IVEST Battery and Alternator Test Successful
- Batteries, Cables, Cover - routing, tight, greased
- Mud flaps/Fenders - secure, aligned, clears exhaust
- Route & clip under vehicle - secured, meets specs
- Undercoating - no bare spots
- Body Tie-Down Clips - not hanging loose
- Rearmost Drive Shaft U-joints - in-phase, retorque*
- Shock Absorbers/ Bump Stops - secure
- Slack Adjusters (Stroke <1.75" Std, <2.0" LS)
- Drive Shaft Guards - secure, aligned
- Center Bearings - alignment - square and tight
- Exhaust - secure, position, tailpipe end location
- Air Tank Drain Valves - activate
- Trans cooler line connector gage clips - (2) installed
- Cotter keys / lock tabs spread - steering/brakes
- Starter, Ground connections - tight, greased
- Joints lubricated - verify zerks and doors lubed
- Chassis Air Suspension Ride Height (set to spec)
- Drive Axle Oil Level FULL (ALL drive axles)
- Wheel Lug Nuts - retorque to 450 - 500 lb-ft
- Tires - proper inflation, valve stem caps are tight
- Front Hub and/or Lift Axle Oil Level - in range
- Compartments - keys, latches, lights, hinges, aligned
- Tow Hooks/ Loops/ Pins - present, secure
- Remove protective coverings, tags, tape
- Exterior paint, components - condition, fit per B9.31
- Windshield and glass - no damage
- Hood fit - secured, good alignment
- Steering Shaft Pinch Bolts - both torqued-off
- Air Filter Snorkel Boot - fully attached
- Turbo downpipe - secure, no contact with hardware
- Alternator Connections - tight, greased
- Underhood route and clip - secure, meets specs
- Underhood wire connections - latched / tight
- Underhood hose clamps - tight, position
- RE Bus Engine drive belt(s) - alignment, tension
- Engine Oil Level - in upper half of range
- Washer Fluid Level - over half full
- Open all coolant/ heater valves
- 2 Keys, 2 Fuel Cap Keys, and Keyless Entry work
- Fire Extinguisher/ Reflector Kit - fit, secured, full
- First Aid Kit/ Body Fluid Kit - location, contents
- Doors - adjusted and work properly
- 16 & 8-Way Lights - operate with key On and Off
- Crossing Gate/ Stop Sign - with key On and Off
- Lights - exterior, instrument panel, interior, sleeper
- Wheelchair Lift/Door - fit, function, buzzer, light, interlock
- Windshield Wiper / Washer, Windshield - functional
- Radio/ CD/ VID/ Speakers - fit, function (as equipped)
- Mirrors - condition, mounting, adjustment
- Roof Hatches/ Emergency Doors - function, buzzers
- Windows - open/ close properly - no damage
- Child Check System - function, decal(s)
- Interior components & floor mat - condition, secure
- Passenger Seats/Restraints - installation condition
- Driver's Seat/ Restraints - secure, condition, functional
- Auxiliary Coolant Heater - functions, secure
- Engine Cover Fit - FE only
- Clear Inactive Fault Codes
- Gauges sweep/ Dash Warning Lights ON then OFF
- Starter only Cranks in N, P, or with Clutch depressed
- Hydraulic Brake Fluid Level - in range
- Automatic Transmission Fluid Level - in COLD range
- Power Steering Fluid Level - in COLD range
- Coolant Level - above mid range/ lower view eye
- ROAD TEST - Achieve 55 mph (88 kph) ~20 minutes
- Bump Track + Dyno or Road Test - No Concerns
- Parking Brake - holds, releases
- Brake warning light, buzzer, motor, air brake tests
- Gear Selector/ Switches - functional
- Horn & Steering Wheel Switches - functional
- Hand Throttle/ Cruise Control - functional
- Gauges and Warning Lamps - functional, no warnings
- Engine, Transmission, Brakes, Steering - performance
- Steering Wheel Alignment - straight per spec
- Wind noise minimal - no leaking body seals
- Climate Controls - Fan Speed, Temperature, Ducts
- Optional Accessories - performance, programming
- Optional Accessories - performance
- Body switches - functional
- Hot Coolant Level - MAX +/- 1" or above lower view eye
- Automatic Transmission Fluid Level - in HOT range
- No Fluid, Exhaust or Air Leaks - entire vehicle
- Fault Codes - check and record